
A gas grill can make outdoor cooking quick and convenient, but regular cleaning is what keeps it working properly and your food tasting fresh. Grease, food particles, smoke residue, and carbon can build up over time, especially if you use your grill frequently.
If your grill has started looking dirty, producing more smoke than usual, or leaving residue on your food, it may be time for a thorough cleaning.
Learning how to clean a gas grill does not have to be complicated. With a few basic supplies and the right approach, you can clean the grates, burners, heat deflectors, grease tray, and exterior without spending hours on the job.
What You Need: How to Clean a Gas Grill
Before you start, gather everything you need so you do not have to stop halfway through the cleaning process.
You will usually need:
- A grill brush
- A microfiber cloth or clean rag
- Warm water
- Dish soap
- A bucket or bowl
- A sponge
- Paper towels
- A plastic or silicone scraper
- A small cleaning brush
- Disposable gloves
- A garbage bag or container for grease and debris
For heavy buildup, you may also want a degreaser that is specifically labeled as safe for grill surfaces.
Avoid using random household chemicals on cooking surfaces. Some cleaners can leave residues or damage certain grill finishes.
Before you start cleaning, it helps to understand the main gas grill parts and what each component does.
Before You Start Cleaning
Safety should come first whenever you clean a gas grill.
Make sure the grill is turned off, and the propane tank or natural gas supply is disconnected or shut off according to your grill manufacturer’s instructions.
If you recently cooked, allow the grill to cool completely before beginning a deep cleaning.
Do not start removing parts while the grill is still hot.
Once the grill is cool, remove the cooking grates and other removable components that your grill’s instructions allow you to take out.
It is also a good idea to check your grill’s owner’s manual before removing burners, igniters, or other internal parts. Different gas grills are designed differently, and forcing a component out can cause damage.
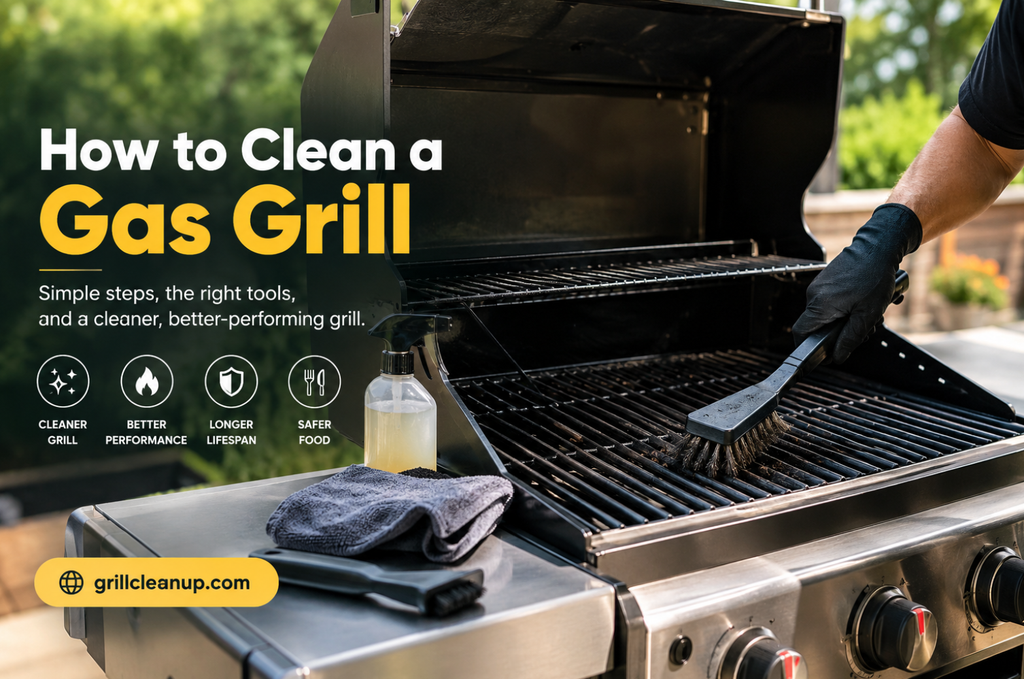
How to Clean a Gas Grill Step by Step
Now that your grill is cool and your supplies are ready, you can begin the cleaning process.
1. Remove the Cooking Grates
Start by taking the cooking grates out of the grill.
Place them on a surface that can get dirty, such as an old towel, newspaper, cardboard, or a suitable outdoor work area.
Use a grill brush to remove loose food particles and carbon buildup.
If the grates have a thick layer of grease, soak them in warm water mixed with dish soap for several minutes. This can help loosen stubborn residue before you scrub.
Use a sponge or suitable brush to clean both sides of each grate.
Pay particular attention to the areas where food and grease tend to collect.
After cleaning, rinse the grates thoroughly and allow them to dry completely.
If your grates are made from cast iron, follow the manufacturer’s care instructions. Cast iron cooking grates generally need to be dried thoroughly and lightly maintained to help prevent rust.
2. Clean the Inside of the Grill
With the grates removed, you should be able to see the buildup underneath.
This area can contain old grease, food particles, ash-like residue, and carbon deposits.
Use a plastic scraper to loosen large pieces of buildup.
Work carefully rather than trying to scrape everything aggressively. You want to remove the residue without damaging the grill’s internal surfaces.
Once the larger debris has been removed, wipe the interior with a damp cloth or sponge.
A small amount of dish soap can be useful on surfaces where grease has accumulated, but avoid flooding the inside of the grill with water.
Gas grills contain components that should not be soaked.
3. Clean the Heat Deflectors or Flavorizer Bars
Many gas grills have metal plates positioned above the burners. Depending on the manufacturer, these may be called heat deflectors, heat shields, burner covers, or flavorizer bars.
Their job is to distribute heat and protect the burners from dripping grease.
Remove them if your grill design allows it.
Brush away loose debris and carbon buildup. If they have greasy residue, wash them with warm, soapy water and a sponge.
Inspect them while cleaning.
If a component is heavily corroded, cracked, or damaged, check the manufacturer’s recommendations to determine whether it should be replaced.
Keeping these parts clean can also help reduce excessive flare-ups caused by accumulated grease.
4. Clean the Burners Carefully
The burners are one of the most important parts of your gas grill, so they need careful attention.
Look for blocked burner holes, grease buildup, rust, or other visible damage.
Use a soft or suitable brush to remove debris from the outside of the burners.
If you see blocked burner openings, clean them carefully without enlarging or damaging the holes.
Do not poke aggressively into burner openings with sharp objects.
If the burners are badly rusted or damaged, cleaning may not be enough. Replacement may be necessary.
You should also check the burner area for spider webs or insect nests, particularly if the grill has been sitting unused for a long period.
Never ignore unusual burner behavior. Uneven flames, weak flames, or flames appearing in unexpected areas can indicate a problem that needs attention.
5. Empty and Clean the Grease Tray
The grease tray is easy to forget, but it is one of the most important parts of regular grill maintenance.
Over time, grease can collect in the tray and become a fire hazard if it is allowed to build up excessively.
Carefully remove the grease tray according to your grill’s instructions.
Dispose of old grease appropriately. Do not pour a large amount of grease down your sink because it can cause plumbing problems.
Scrape solidified grease and food debris into the trash where appropriate.
Then wash the tray with warm water and dish soap.
Dry it completely before putting it back.
If your grill uses disposable grease cups or liners, replace them when necessary.
6. Clean the Bottom of the Grill
After removing the grease tray and other removable components, inspect the bottom of the grill.
This is where old grease and food particles can accumulate.
Use a plastic scraper to loosen stubborn buildup and remove the debris.
Then wipe the surface with a damp cloth.
Do not leave large amounts of grease inside the grill.
A clean bottom area makes future maintenance easier and reduces the amount of combustible material inside the grill.
7. Clean the Grill Lid
The inside of the lid can develop a dark, flaky substance over time.
This often looks like peeling paint, but it may actually be a mixture of smoke, grease, and carbon buildup.
Allow the grill to cool completely, then use a plastic scraper or suitable grill-cleaning tool to remove loose residue.
Wipe the surface afterward with a damp cloth.
Avoid scraping aggressively if the interior has a special coating.
For the outside of the lid, use warm soapy water and a microfiber cloth.
Always check the manufacturer’s cleaning recommendations if your grill has stainless steel, painted, porcelain-coated, or other specialty surfaces.
8. Clean the Exterior
Once the inside is clean, give the outside of your grill some attention.
Mix a small amount of dish soap with warm water and use a microfiber cloth or soft sponge to wipe the exterior.
For stainless steel surfaces, wipe with the grain when applicable.
Avoid abrasive pads that can leave scratches.
Remove grease, fingerprints, dust, and food splashes from the handles and control area.
Be careful around knobs, electronic ignition components, thermometers, and other parts that should not be soaked.
Use a damp cloth rather than spraying large amounts of water directly onto the grill.
9. Put Everything Back Together
Once all removable components are clean and completely dry, reinstall them in their proper positions.
Make sure the burners, heat deflectors, cooking grates, grease tray, and other components are correctly seated.
Do not leave loose parts inside the grill.
Before cooking again, check that everything looks normal and that nothing is blocking the burner area.
If you notice damaged components, unusual gas smells, or abnormal flames, stop using the grill and follow the manufacturer’s safety instructions.
How to Clean Gas Grill Grates Between Cookouts
You do not need to perform a deep cleaning after every meal.
A quick cleaning after cooking can make your next deep clean much easier.
After cooking, while the grill is still warm but not dangerously hot, use a suitable grill brush to remove food particles from the grates.
Always follow the brush manufacturer’s instructions and inspect the brush regularly for damaged or loose bristles.
If you see excessive grease or food buildup, clean the grates more thoroughly instead of allowing the residue to accumulate.
A few minutes of maintenance after each cookout can prevent a much bigger cleaning job later.
How Often Should You Clean a Gas Grill?
The right cleaning schedule depends on how frequently you use your grill.
If you grill several times a week, you may need to clean the cooking grates after every use and perform a deeper cleaning every few weeks.
For occasional grilling, a deeper cleaning every few months may be enough.
You should clean your grill sooner if:
- Food starts sticking to the grates
- You notice excessive smoke
- Grease is visibly accumulating
- The grill develops unusual hot spots
- Flare-ups become frequent
- Food tastes or smells different
- The grease tray is becoming full
- You notice heavy carbon buildup
A grill that is cleaned regularly is much easier to maintain than one that is ignored for an entire season.
Common Gas Grill Cleaning Mistakes to Avoid
Knowing what not to do is just as important as knowing how to clean a gas grill.
Using Too Much Water
Gas grills contain components that should not be soaked.
Use a damp cloth or sponge when cleaning sensitive areas instead of spraying the entire grill with water.
Cleaning While the Grill Is Hot
Heat can make cleaning dangerous.
Always allow the grill to cool before performing a deep cleaning or removing components.
Ignoring the Grease Tray
A dirty grease tray is more than an appearance problem.
Excess grease can contribute to flare-ups, so inspect and clean the tray regularly.
Using Abrasive Cleaners on Every Surface
A harsh cleaner or abrasive pad may damage painted, porcelain-coated, or stainless-steel surfaces.
Choose a cleaning method appropriate for the material.
Forgetting the Burners
The cooking grates may get the most attention, but burners are equally important.
Check them periodically for debris, corrosion, or blocked openings.
Leaving Wet Parts Inside the Grill
Moisture can contribute to rust and corrosion.
Dry removable metal components before putting them back.
How to Keep Your Gas Grill Cleaner for Longer
Deep cleaning becomes much easier when you prevent excessive buildup in the first place.
Here are a few simple habits that can help:
Clean After Cooking
Remove food particles from the grates after each cooking session.
Empty the Grease Tray Regularly
Do not wait until it is overflowing.
Cover the Grill
A good-quality cover can help protect the grill from rain, dirt, and outdoor debris.
Make sure the grill is completely cool and dry before covering it.
Check the Grill Before Cooking
Take a quick look at the cooking surface and grease area before every use.
Deep Clean Regularly
Even if the grill looks relatively clean, perform a deeper inspection periodically.
Regular maintenance helps you catch problems before they become bigger issues.
Frequently Asked Questions
What is the easiest way to clean a gas grill?
The easiest approach is to clean the grates regularly, remove grease buildup, empty the grease tray, and periodically clean the interior and exterior. Doing small cleaning tasks frequently is easier than waiting until heavy buildup develops.
Can I use dish soap to clean my gas grill?
Yes, dish soap mixed with warm water can be useful for cleaning many removable grill components and exterior surfaces. Always check the manufacturer’s instructions and rinse surfaces that come into contact with food.
How do you clean a gas grill that has not been cleaned in a long time?
Start by allowing the grill to cool completely and disconnecting the gas supply according to the manufacturer’s instructions. Remove loose debris, clean the grates, scrape away heavy buildup, clean the grease tray, and inspect the burners—work gradually rather than trying to remove everything at once.
How often should I deep clean my gas grill?
It depends on how often you use it. Frequent grillers may need a deeper cleaning every few weeks, while occasional users may only need one every few months. Regularly inspect the grill and clean it sooner if you notice heavy grease, excessive smoke, or frequent flare-ups.
Should I clean the burners on a gas grill?
Yes. Burners should be inspected periodically for debris, blocked openings, corrosion, or damage. Clean them carefully according to the grill manufacturer’s instructions.
Can I pressure wash a gas grill?
Pressure washing is generally not a good idea unless the manufacturer specifically allows it. High-pressure water can force moisture into burners, igniters, valves, and other components where it does not belong.
Why does my gas grill produce so much smoke?
Excessive smoke can be caused by grease, food residue, or carbon buildup. Cleaning the grates, heat deflectors, grease tray, and interior may reduce smoke caused by accumulated residue. If the problem continues, inspect the grill according to the manufacturer’s troubleshooting instructions.
How do I know when my gas grill needs cleaning?
Visible grease, heavy carbon buildup, excessive smoke, frequent flare-ups, dirty cooking grates, or an unpleasant smell are all signs that your grill needs attention.
Final Thoughts
Learning how to clean a gas grill is one of the simplest ways to keep your outdoor cooking setup in better condition.
You do not need to spend an entire day scrubbing your grill every time you cook. Regularly brushing the grates, removing grease, checking the burners, cleaning the grease tray, and wiping down the exterior can prevent heavy buildup.
A few minutes of maintenance after each cookout can save you from a much bigger cleaning job later—and help keep your grill ready for the next meal.